
TFOD를 사용하기 위한 환경설정을 처음부터 끝까지 진행해보도록 하겠습니다.
1. 가상환경 설정 및 텐서플로우 설치
- conda(cmd)에 코드 작성 (저는 리마인드용이라 tfod_self로 만들었지만 보시는분들은 tfod로 만드셔도 무방합니다)
conda create -n tfod_self python=3.8
conda activate tfod_self
pip install tensorflow==2.2.0

python
import tensorflow as tf


2. document폴더에 텐서플로우 폴더를 만들어 git 설치함.
cd Documents (문서 폴더로 이동)
mkdir Tensorflow (텐서플로우 파일 생성)
git 설치
git clone https://github.com/tensorflow/models.git (tfod클론함)
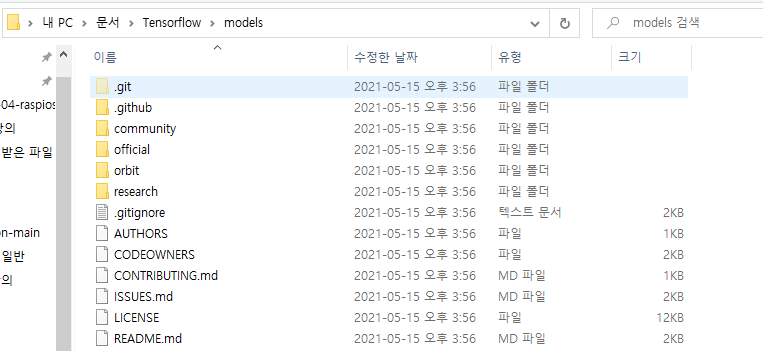
- reserch 폴더에 objection detection 폴더 내부에 models 폴더를 보면 많은 모델들이 존재한다.
https://github.com/tensorflow/models/tree/master/research/object_detection 참고
3. Protobuf 설치(라이브러리)
protobuf = 프로토콜 버퍼. 구글의 데이터 인터체인지 포맷이며 `데이터의 상호교환을 위한 라이브러리이다.
- 어떤 언어나 플랫폼에서도 통신 프로토콜이나 데이터의 저장을 할 때 구조화 된 데이터를 전환하게 하는 방법
- 다른언어로 짠 코드를 쉽게 변환하여 사용가능하게 함.
공식 깃허브 : https://github.com/protocolbuffers/protobuf
파일 다운로드 : https://github.com/protocolbuffers/protobuf/releases
파일을 다운로드합니다. 저는 3.15.8-win64.zip 으로 다운했습니다.
1. 압축해제
2. C:\Program Files로 이동
3. Google protobuf폴더 만들기
4. 압축 푼 파일 모두 옮겨놓기
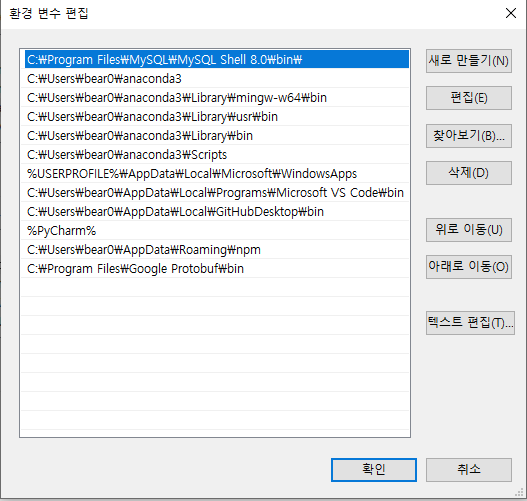
5. 환경변수 설정 : User Path에 위 경로 Google Protobuf/bin을 추가.
(내 컴퓨터 -마우스 우클릭 -속성 -고급시스템 설정 -환경변수 -사용자 변수의 path 편집
C:\Program Files\Google Protobuf\bin입력. -시스템 변수의 path에도 편집후 동일하게
C:\Program Files\Google Protobuf\bin입력.)
6. 컴파일하기 : cmd 경로를 Tensorflow/models/reserch로 이동
7. protoc object_detection/protos/*.proto --python_out=.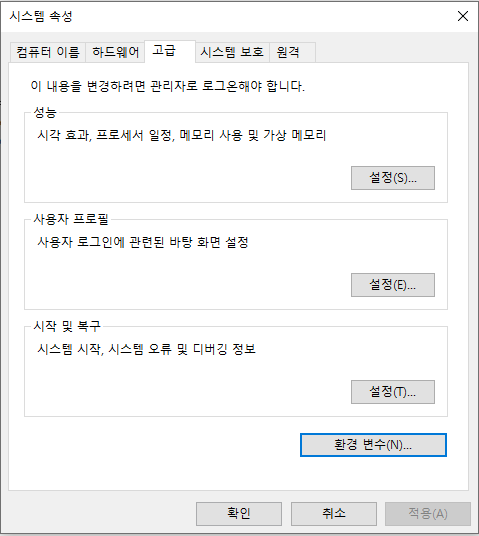


4. Coco API 설치
https://github.com/cocodataset/cocoapi
- Coco API란 object Detection, segmentation, Captioning을 위한 데이터셋이다.
cmd 창에서
pip install cython
pip install git+https://github.com/philferriere/cocoapi.git#subdirectory=PythonAPI
복붙하기 편하게.. pip install git+https://github.com/philferriere/cocoapi.git#subdirectory=PythonAPI
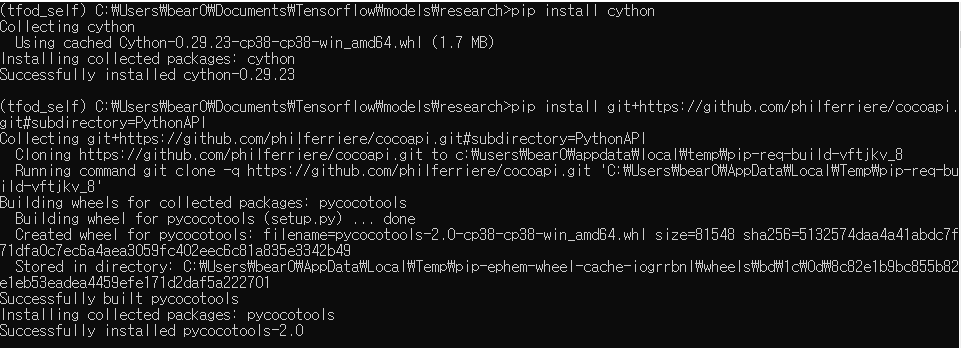
여기서 오류가 발생할 수도 있습니다.

https://visualstudio.microsoft.com/ko/visual-cpp-build-tools/
c++ 빌드 툴 설치를 하시면 해결됩니다.
5. Object Detection API 설치
git bash를 사용합니다.
cd Documents/Tensorflow/models/research/
cp object_detection/packages/tf2/setup.py .

cmd에서
python -m pip install .

설치 완료 후 테스트 진행
python object_detection/builders/model_builder_tf2_test.py

여기까지 진행했다면 환경설정은 완료되었다.
TensorFlow 2 Object Detection API tutorial (전체 환경설정 사이트)
- https://tensorflow-object-detection-api-tutorial.readthedocs.io/en/latest/
TensorFlow 2 Object Detection API tutorial — TensorFlow 2 Object Detection API tutorial documentation
Important This tutorial is intended for TensorFlow 2.2, which (at the time of writing this tutorial) is the latest stable version of TensorFlow 2.x. A version for TensorFlow 1.14 can be found here. This is a step-by-step tutorial/guide to setting up and us
tensorflow-object-detection-api-tutorial.readthedocs.io
'영상인식' 카테고리의 다른 글
| CUDA(쿠다) (0) | 2021.07.01 |
|---|---|
| YOLO 두바이 운전 영상 객체인식 (0) | 2021.05.15 |
| YOLO ( You Only Look Once )란 무엇인가 (0) | 2021.05.03 |
| SSD(Single Shot Multibox Detector)란 무엇인가 (0) | 2021.05.03 |
| TFOD( Tensorflow Object Detection ) (0) | 2021.05.03 |